Local Storage seems to be disabled in your browser.
For the best experience on our site, be sure to turn on Local Storage in your browser.
General installation instructions for valves and fittings
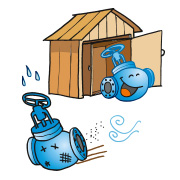
1. Storage
Before installation, please store the valves and fittings in a dry place to protect them from harsh weather conditions, wind and sand. Please leave the goods in their original packing and do not remove the flange or end protections. Please handle the products with care. Do not drop or drag them on the floor.
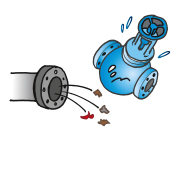
2. Cleaning of pipes
Before installing the valves and fittings on the pipes, please clean the pipes with water or compressed air. Please check for welding spatters or metal chips which could possibly damage the valves’ sealing surface.
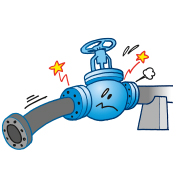
3. Deviation of pipes
Before installing the valves and fittings, please check the pipe dimensions with the equipment already in place. Please also verify the correct alignment of the upstream and downstream pipes. Do not count on the valves and fittings to make up for pipe deviations. This might result in sealing leakages, blockings or mechanical ruptures.
4. Expansion joints
For pipes carrying heat transfer fluids, please anticipate the compensation of dilatations with the help of adapted equipment (loops and/or expansion joints).
Their absence may lead to mechanical ruptures and a blocking of the valves.
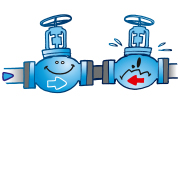
5. Mounting direction
A certain number of devices do not necessarily have a symmetrical functioning. It is essential to comply with the mounting direction indicated by the engraved or stamped arrow on the body and adapt it to the direction of the fluid flow.

6. Slinging
When installing the valves on the pipes, please use adapted lifting devices (bridge crane, forklift, hoist). It is necessary to align the valve
correctly while installing it.
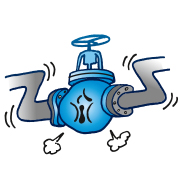
7. Support
For valves representing a significant weight in comparison with the pipes’ solidity, it is essential to provide an additional support independently from the pipes.
Likewise, the valves cannot serve as support for pipes since they have to be supported themselves. The failure to respect these rules can lead to leakages, blockages and breakages.
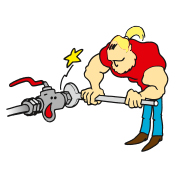
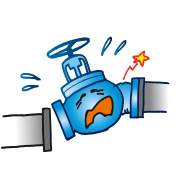
8. Tightening
For threaded and flanged valves and fittings, please use a suitable tightening torque. Insufficient tightening can result in leakages. Overtightening can lead to blocking the valve or mechanical ruptures. The coupling torques are indicated on every product manual.

9. Welding of valves
When welding steel or stainless steel valves, make sure they are in the open position. Extreme care must be taken with small valves to cause no damage to the critical valve components, which may be close to the weld area. Great caution must be taken when welding soft-seated ball
valves.

10. Water hammers
A water hammer, by generating a sudden rise in pressure, can cause considerable damage: slotted valve closure member, deformed stem etc. The causes of water hammers are varied. The non-progressive start of a pump and the sudden closing of a valve are the most frequently found causes.